The Easy Way to Get The Google Play Store Working on Windows 11 [Android 13]
Discover the Simple Steps to Run Google Play Store on Windows 11 with Android 13
![The Easy Way to Get The Google Play Store Working on Windows 11 [Android 13]](/_next/image?url=https%3A%2F%2Fcdn.sanity.io%2Fimages%2Fikjdmk05%2Fproduction%2Fe009d4e6f64a07e6e44ebf34ef31acaf3458160a-2560x1440.png%3Fauto%3Dformat&w=3840&q=75)
Update (10/01/24): Android 13 Windows Subsystem for Android™️ Images (2311.40000.5.0) with Google Play Services is now available for you.
Windows Subsystem for Android™️ enables your Windows 11 device to run Android applications available in the Amazon Appstore.
By enabling the Windows Subsystem for Android in Windows 11, you are allowing your Windows device to run Android apps. Android applications are downloaded from the Amazon Appstore on your Android device.
Recently, Microsoft has added the ability to set up a VPN on Windows Subsystem for Android.
Microsoft released the Windows Subsystem for Android to Windows Insiders on the Beta build of Windows 11 earlier this week, it didn't take long for developers to tinker with the build of Android.
John Wu, the creator of Magisk successfully achieved root on the Windows Subsystem for Android.
Until today, it was impossible to launch the Google Play Store and sign in to your Google account successfully or use apps that depended on Google Play Services.
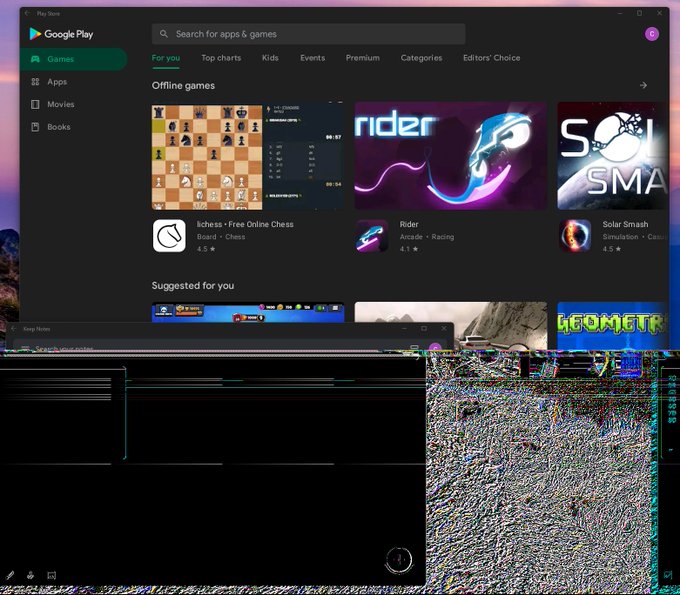
A clever student by the name of ADeltaX from Italy managed to successfully install the Google Play Store and sign in to his Google account, this means that he's able to use any apps that need Google Play Services.
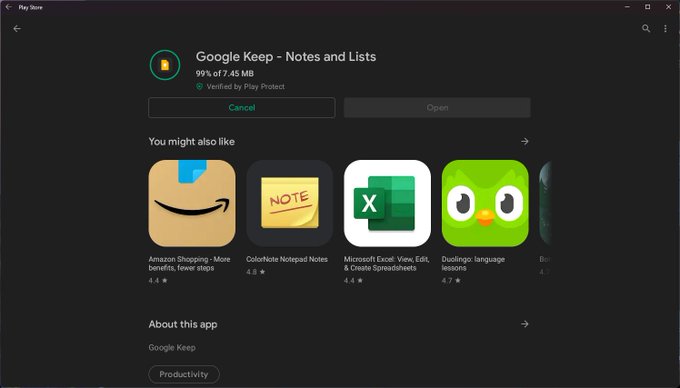
It's now possible to use Google's Android apps such as Google Keep or Google Home on Windows 11.
The easy way to get the Google Play Store on Windows 11
Consider bookmarking this article since it's constantly updated with the latest version of WSA.
This method is a shortcut of ADeltaX's instructions, if you prefer you can follow the full instructions from the Github repo.
- Make sure virtualization is enabled first, go to Control Panel > Programs > Turn Windows features on or off. Make sure the boxes next to ‘Virtual Machine Platform’ are ticked, then click ‘OK’ to confirm.
- Uninstall Windows Subsystem for Android if it's already installed.
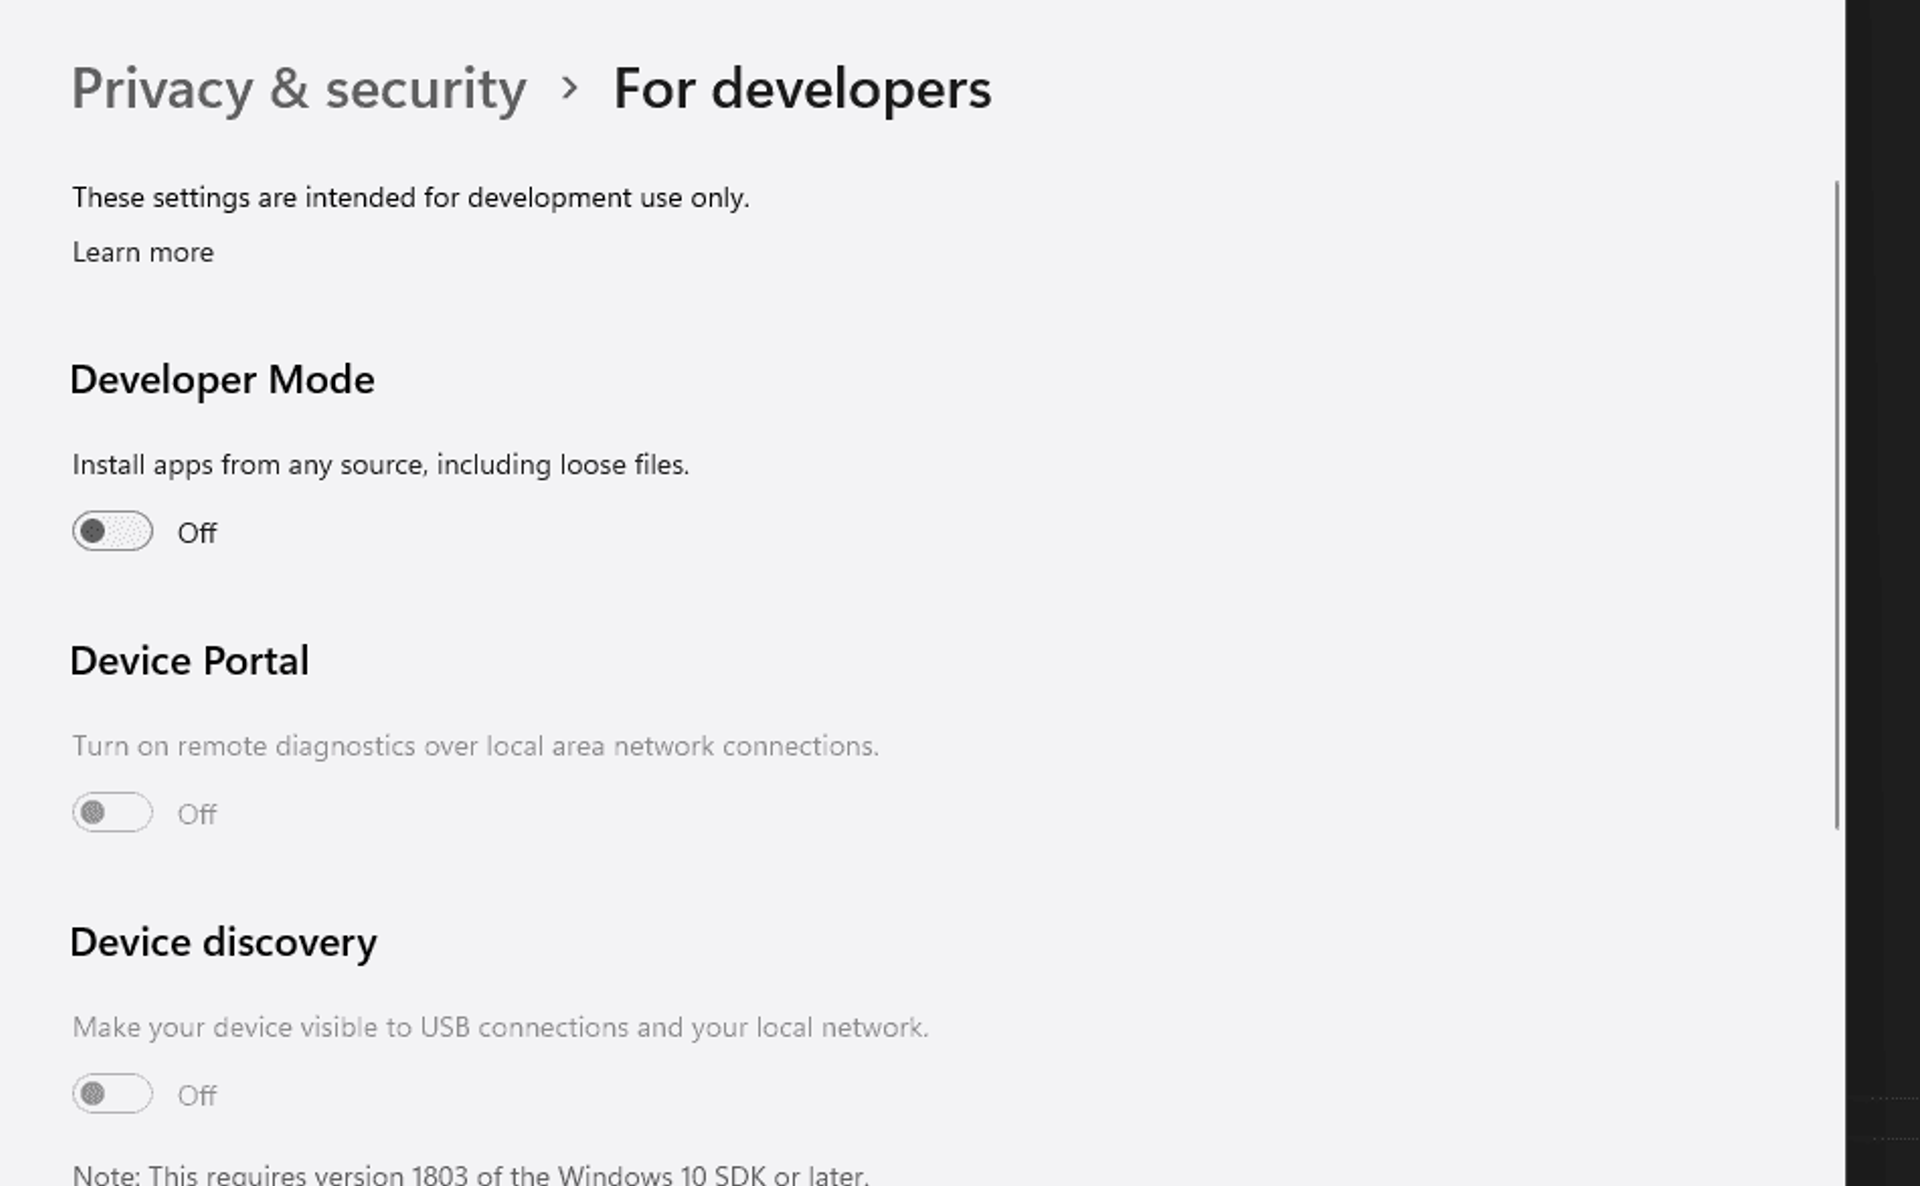
- Enable Developer options in Windows 11.
Download the already-patched MSIX package from below:
Updated Windows Subsystem for Android 13 (2301.40000.7.0)
I have condensed the instructions to make it a lot quicker and easier for you to install the Windows Subsystem for Android.
Microsoft bumped the new version of Windows Subsystem for Android up to 2301.40000.7.0 this includes a major update to the Android version which includes many new features.
- Picture-in-picture mode supported! For apps that use the Android PIP feature, the subsystem now supports this behaviour. With the flexibility of having apps in windowed mode and all of the great Windows resize and snap features, this makes multitasking within Android apps even easier
- A new "Partially running" system setting was added to the WSA Settings app, which runs the subsystem with minimal resources but apps launch quicker than the "As needed" mode
Test out the build and let us know in the comments if Android apps are more stable for you.
Thanks to a new method from LSPosed, we now have WSA with built-in Magisk support.
Xposed is a framework for modules that can change the behavior of the system and apps without touching any APKs. That's great because it means that modules can work for different versions and even ROMs without any changes (as long as the original code was not changed too much). It's also easy to undo.
As all changes are done in the memory, you just need to deactivate the module and reboot to get your original system back. There are many other advantages, but here is just one more: Multiple modules can do changes to the same part of the system or app. With modified APKs, you to decide for one. No way to combine them, unless the author builds multiple APKs with different combinations.
Download the patched, already-rooted WSA packages or the non-root WSA packages
Note
It's recommended that you use the latest version of 7zip to extract the files:
Downloads
- Extract the Zip file (ideally to your C: Drive).
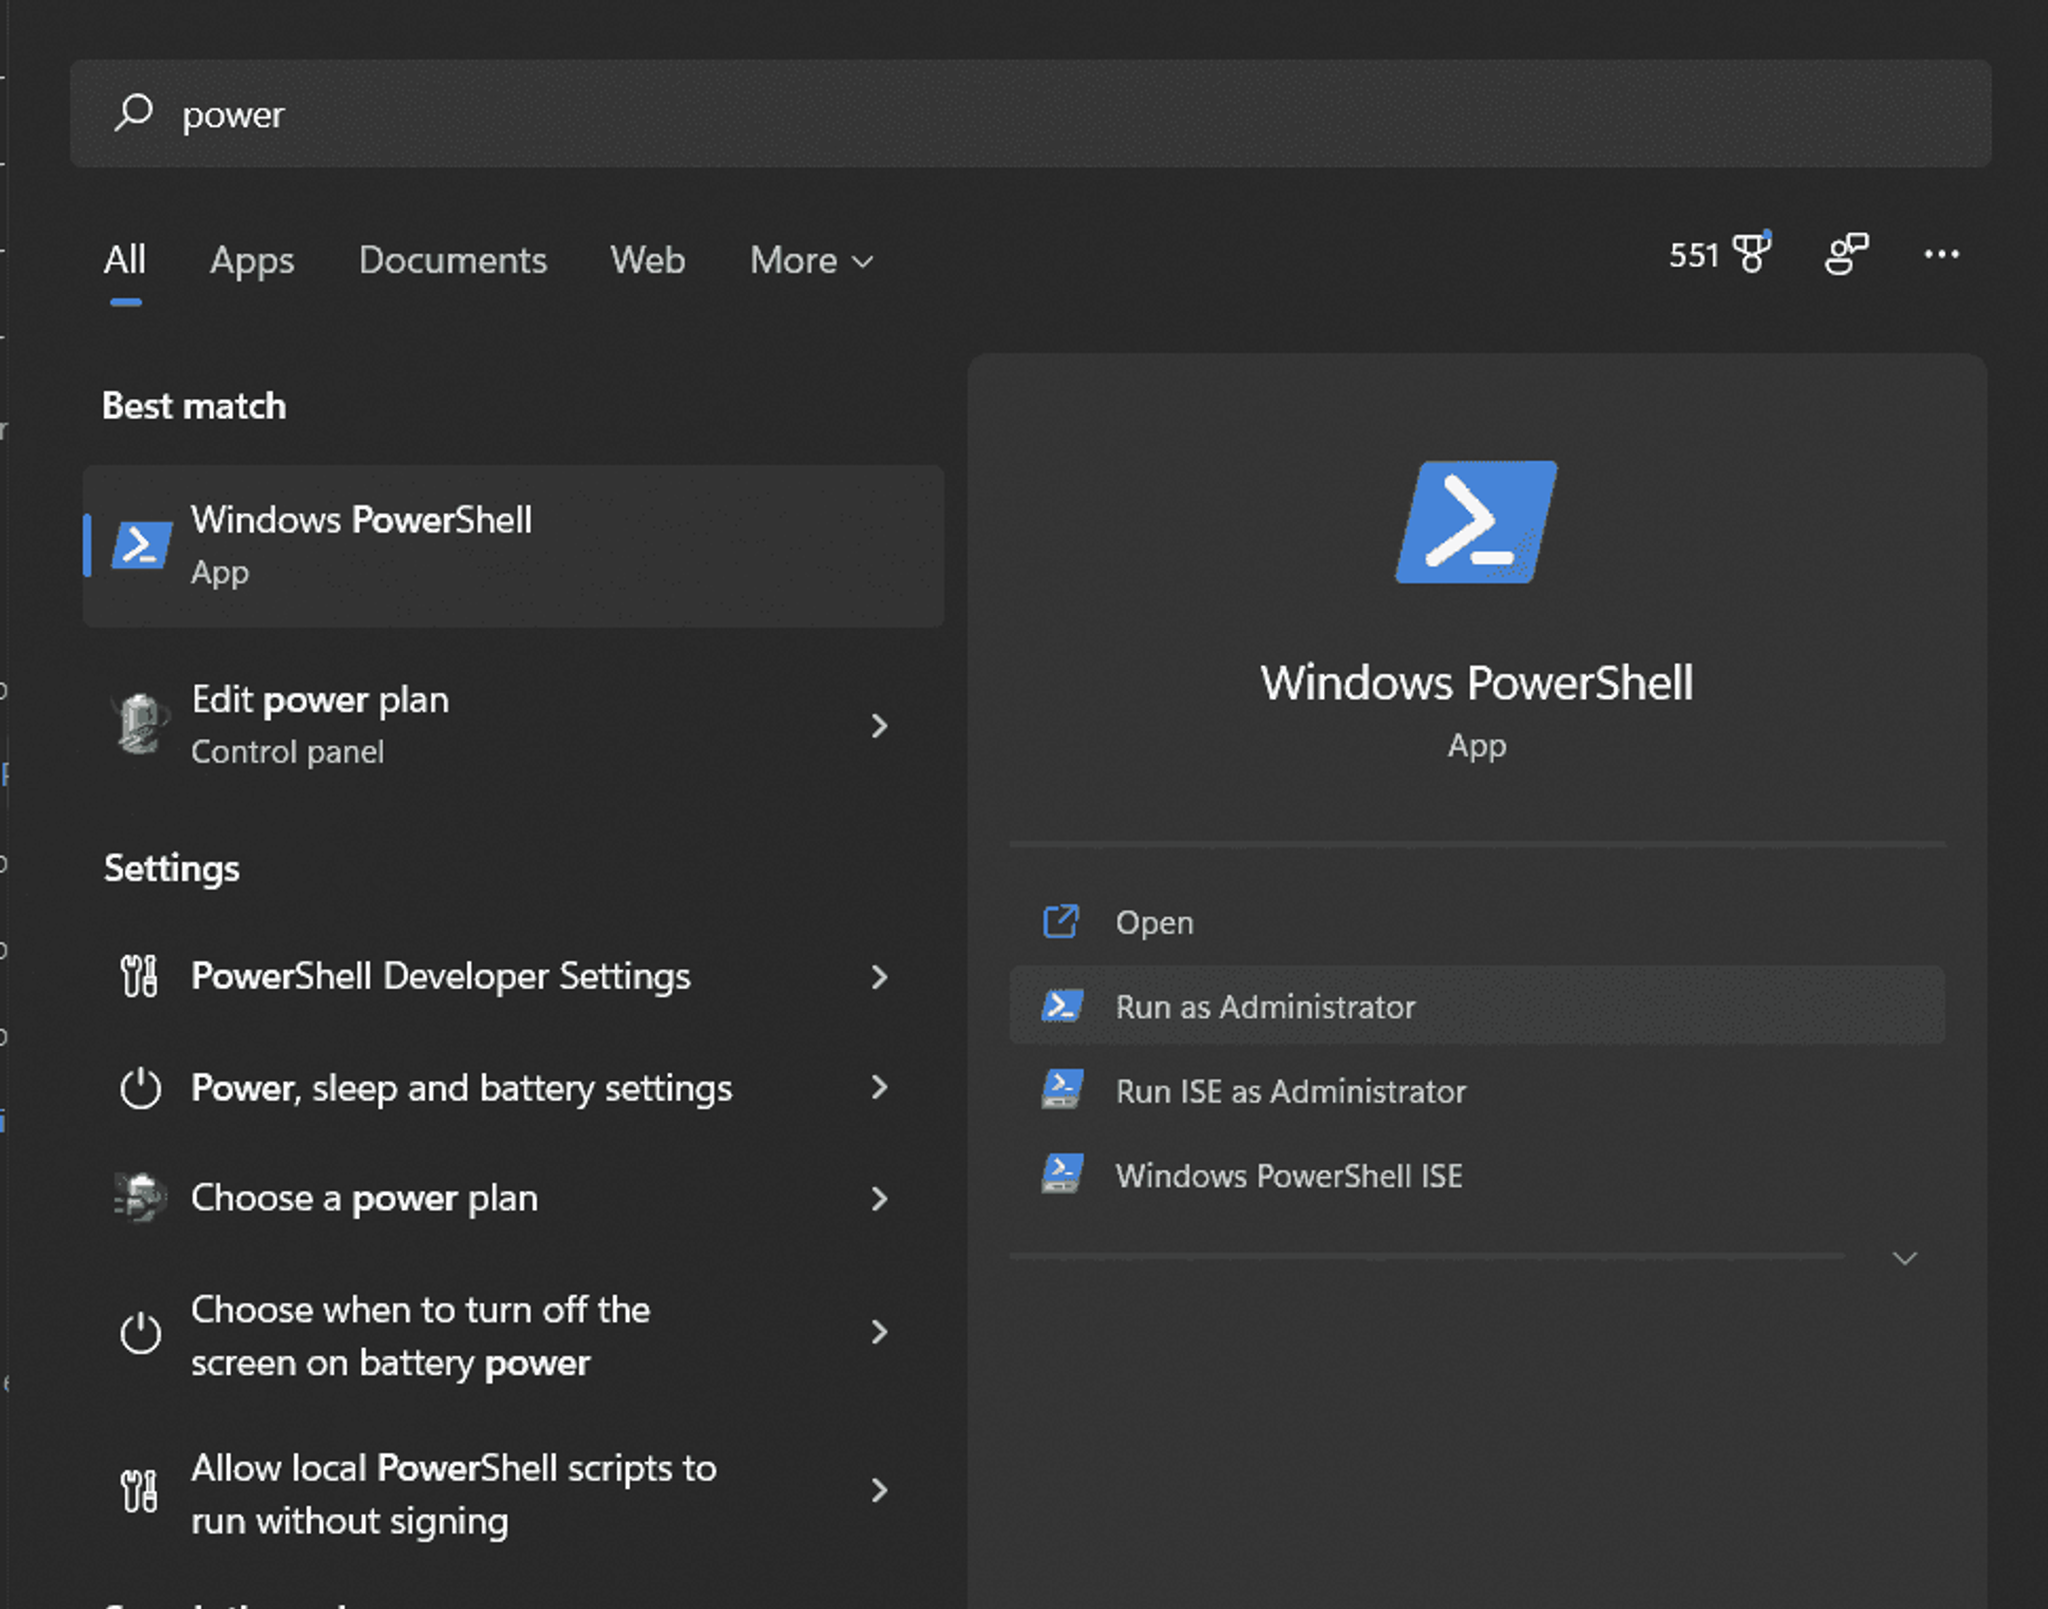
- Search for Powershell in the start menu
- Open Powershell as Administrator
- Run
cd C:\64
- for the 64-bit WSA or
cd C:\arm64
- for the ARM64 WSA run
Set-ExecutionPolicy -Scope Process -ExecutionPolicy Bypass
- and type A when prompted.
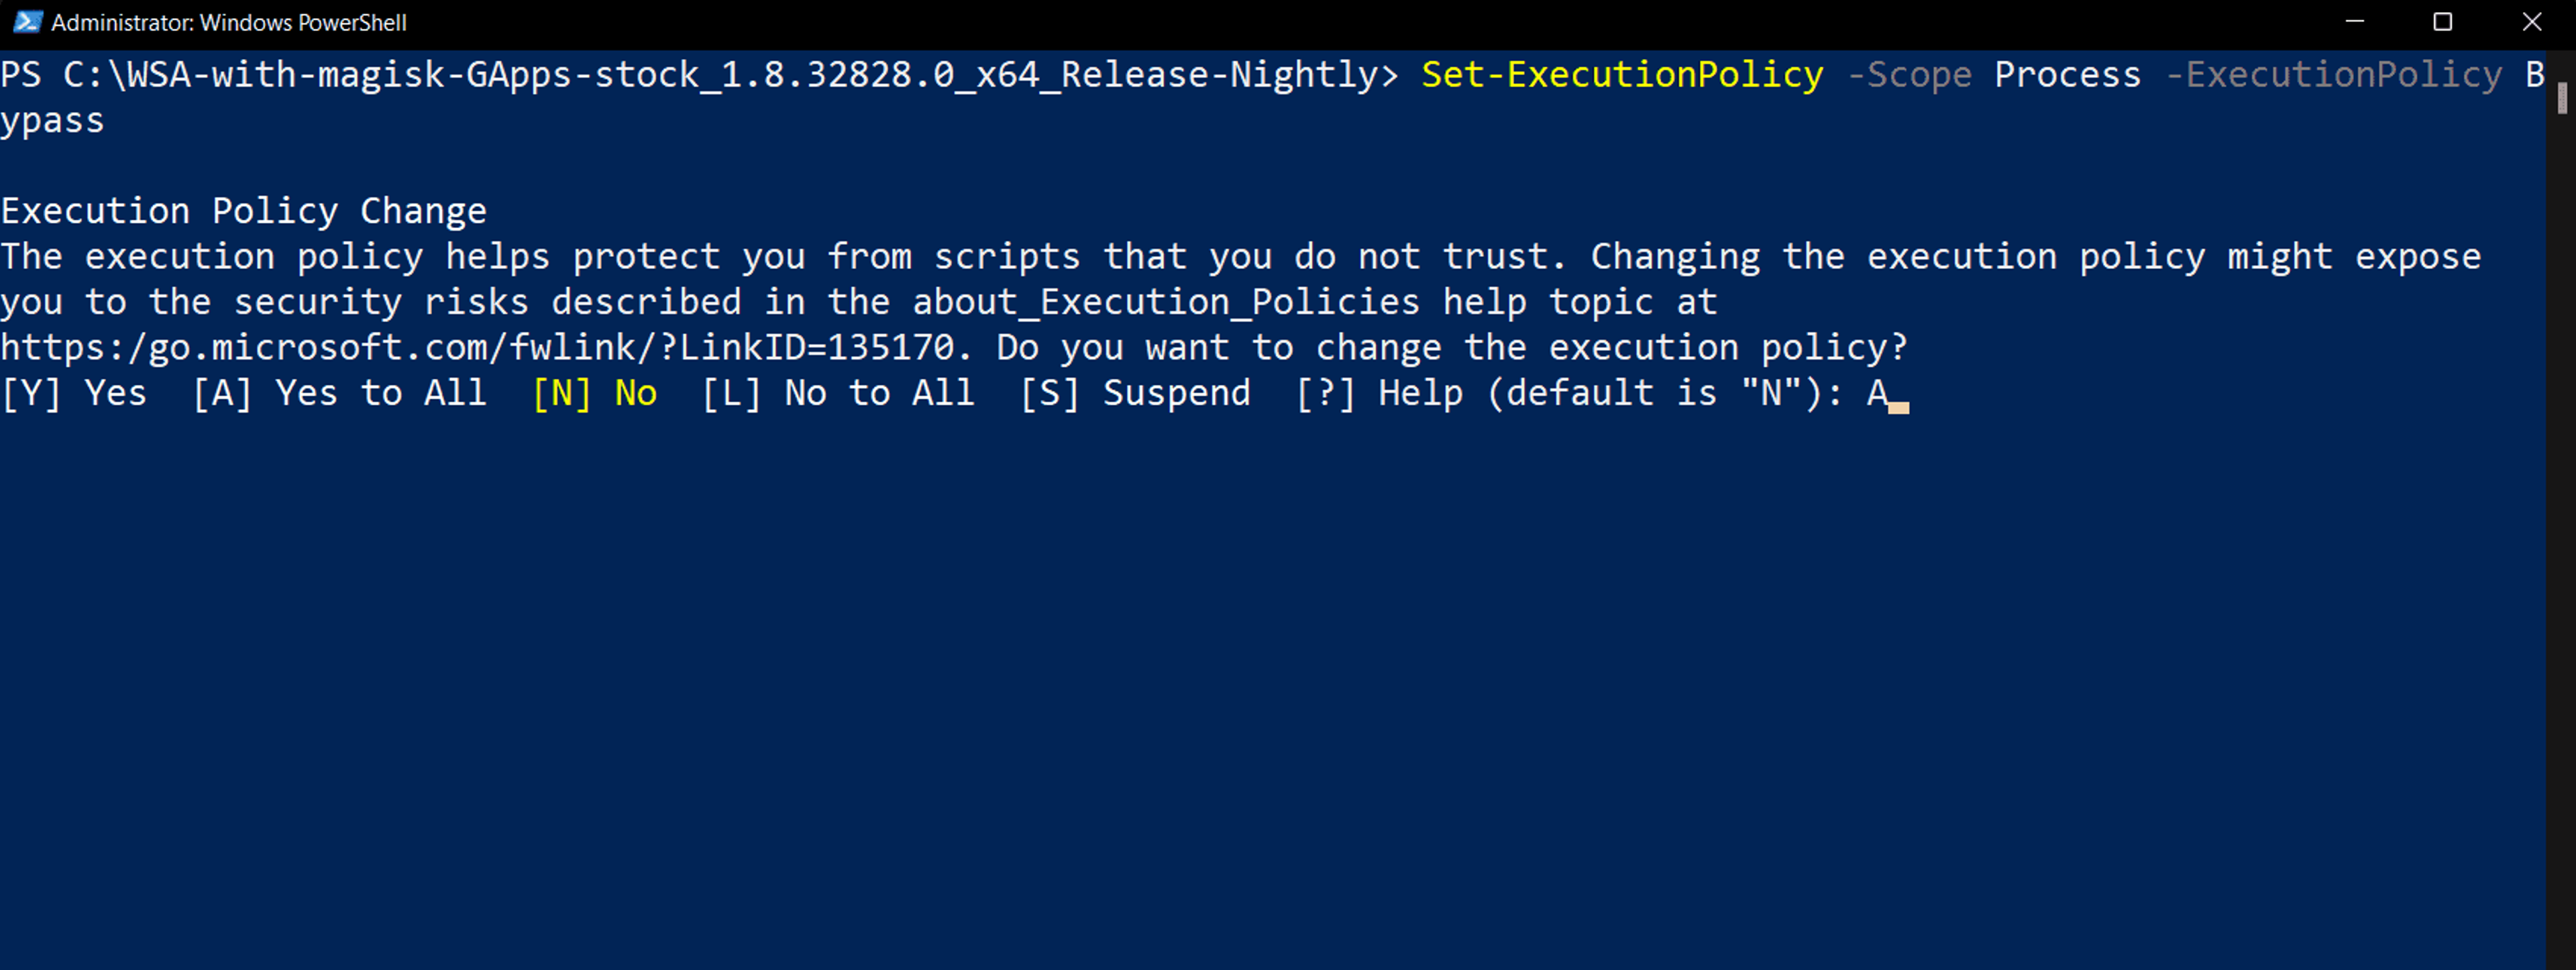
- Run
.\Install.ps1
- This will automatically enable virtualization if you haven't done so already install the Windows Subsystem for Android and install the Google Play Store alongside the Magisk app.
- The WSA app should now be installed in the background. If you get an error, please ensure all of the steps have been followed correctly.
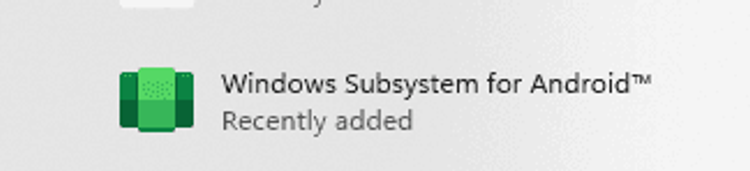
- Launch the Windows Subsystem for Android.
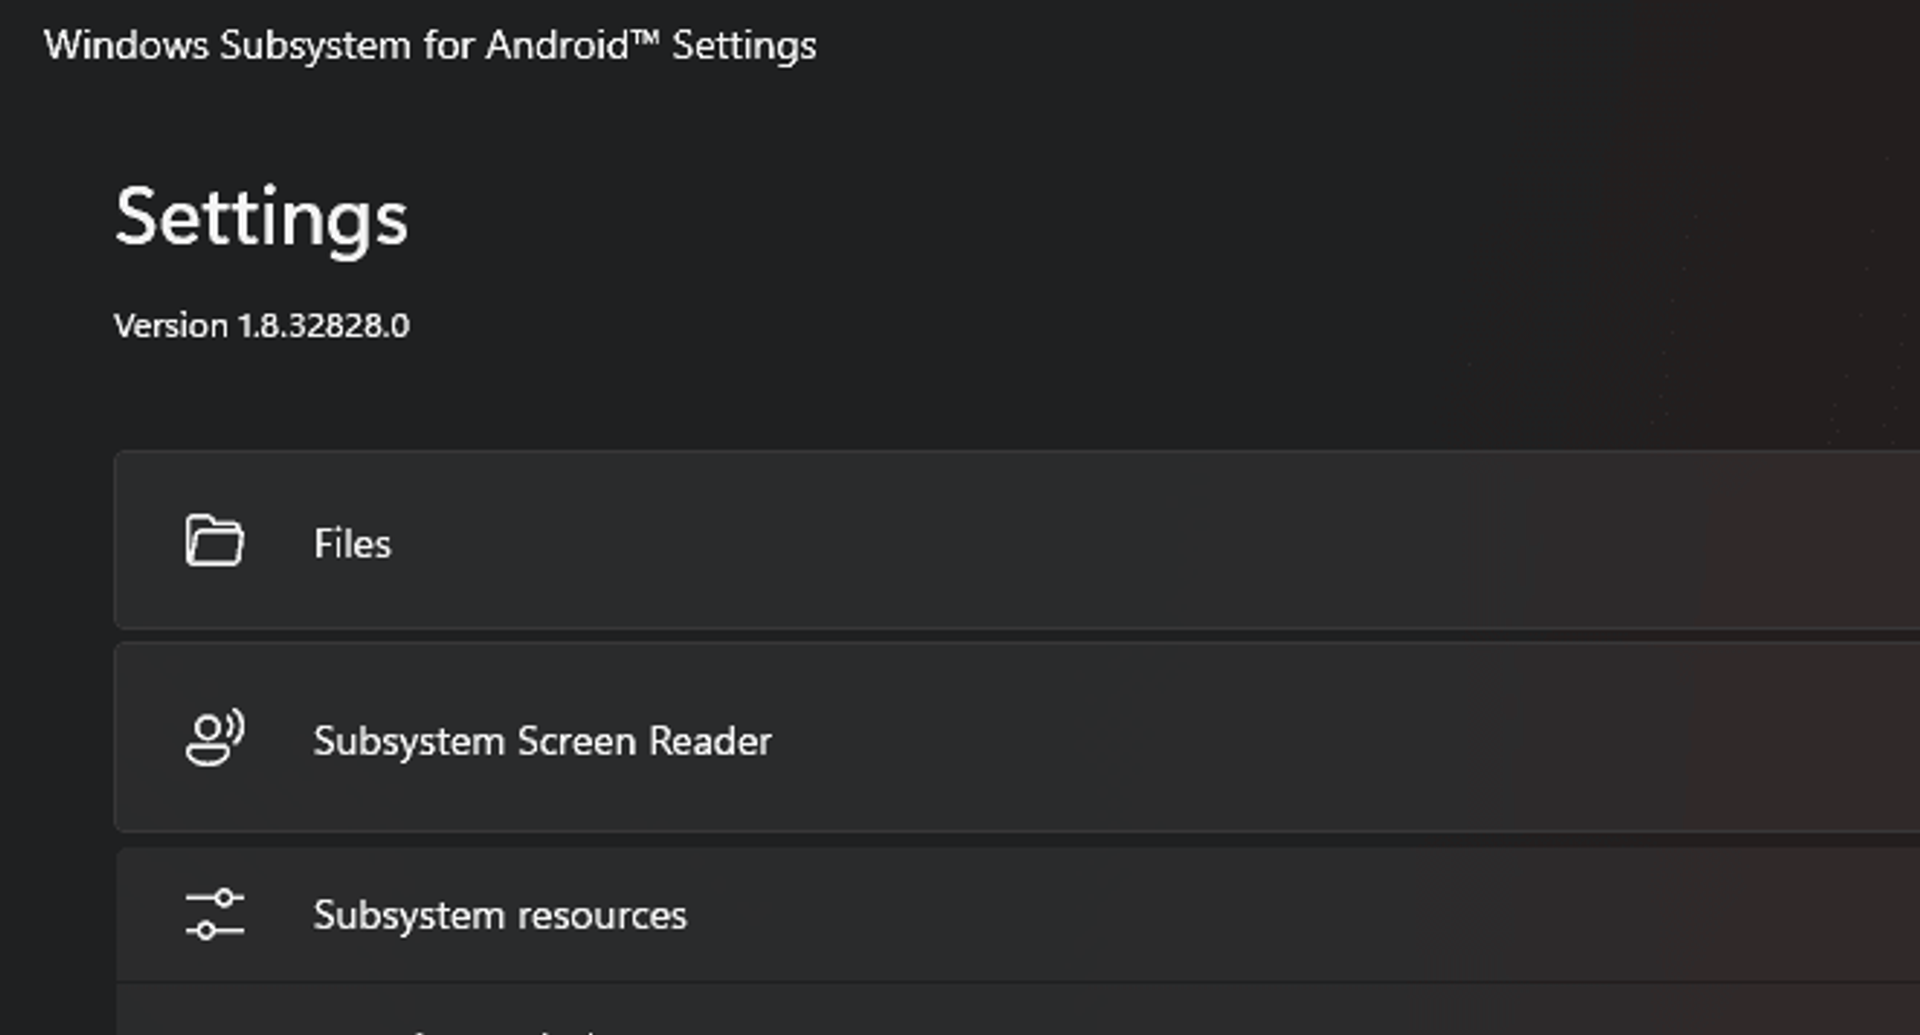
- You should now be able to log in to the Google Play Store with your Google Account.
Big thanks to ADeltaX and LSPosed for making this possible!
We can now enjoy the full suite of Google Play Apps on our Windows 11 machines.
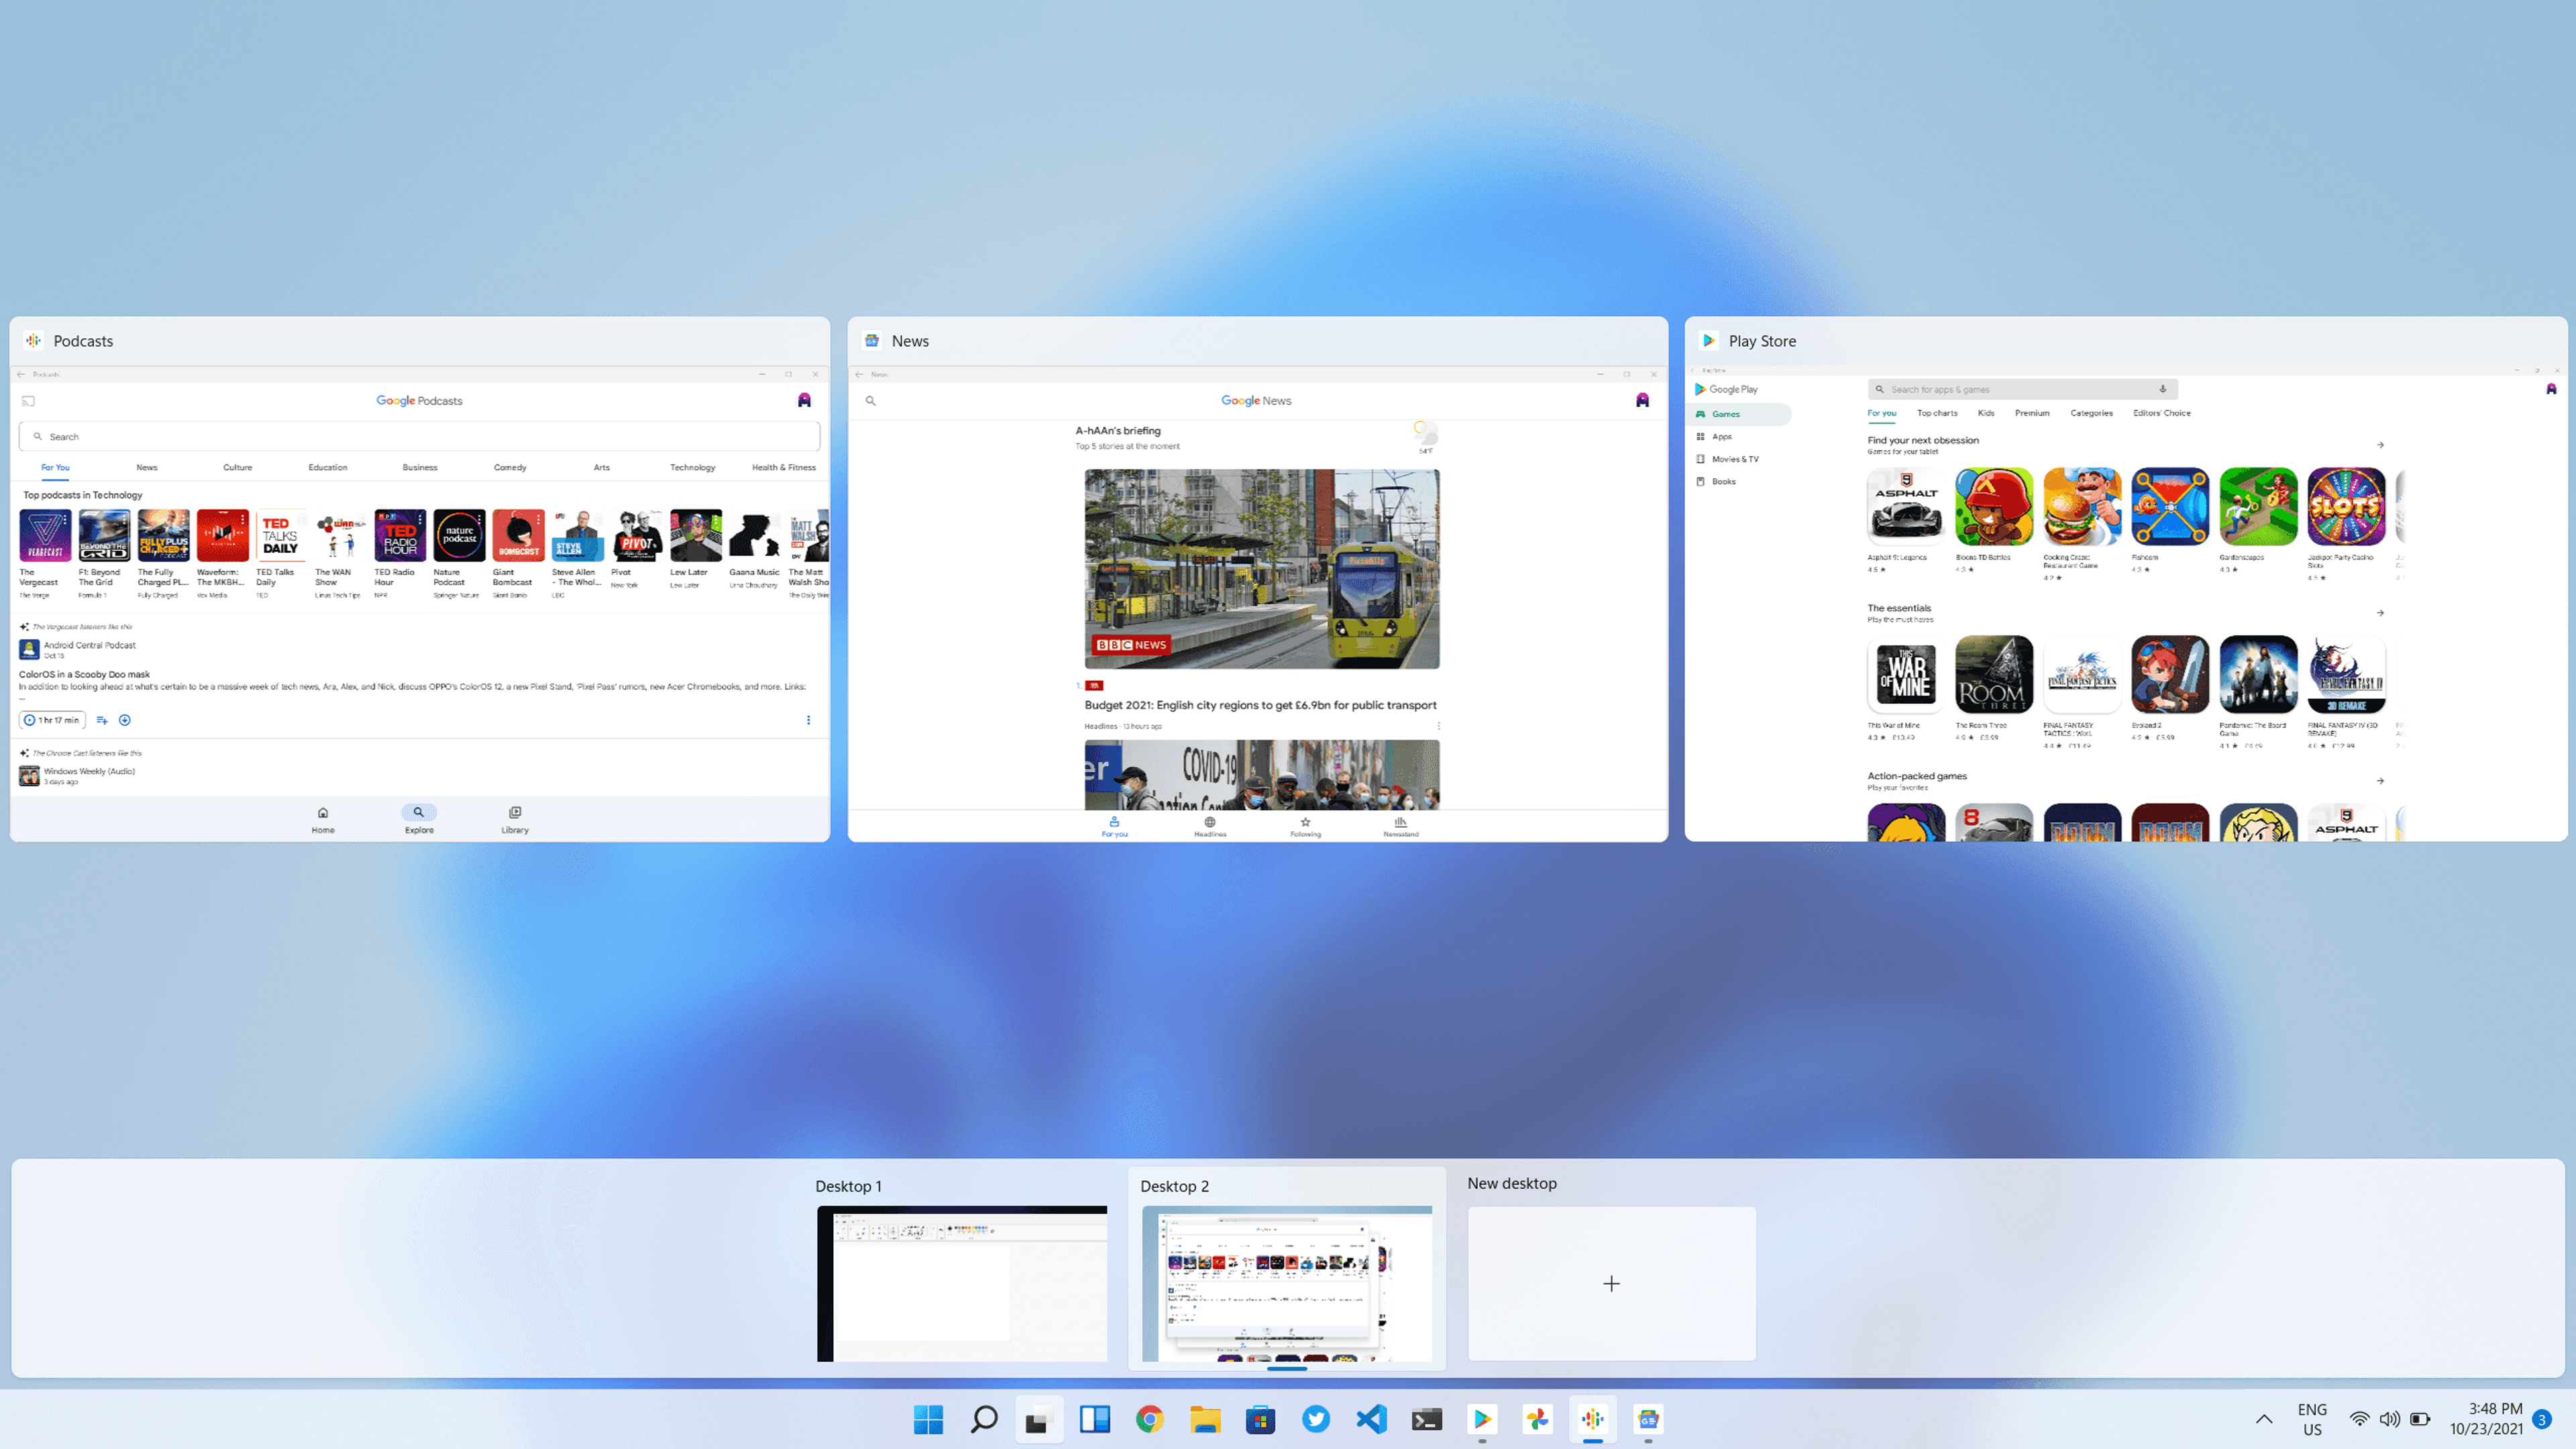
Upgrading WSA to the new version without wiping your data
- Download the new version of the WSA package(64-bit or ARM64) and extract it to your C: Drive.
- Copy the contents of the newly extracted WSA package into your existing WSA installation
- Search for Powershell in the start menu
- Run Powershell as Administrator
- Run
cd C:\[Your existing WSA Folder]
- for the 64-bit WSA or
cd C:\[Your existing WSA Folder]
- for the ARM64 WSA run
Set-ExecutionPolicy -Scope Process -ExecutionPolicy Bypass
- and type A when prompted.
- Run
.\Install.ps1
- to install the WSA, this will automatically update your WSA whilst preserving your user data and install the Google Play Store alongside the Magisk app (if you downloaded the rooted version).